 May 17, 2025
How to & Setup
0 Comment
May 17, 2025
How to & Setup
0 Comment
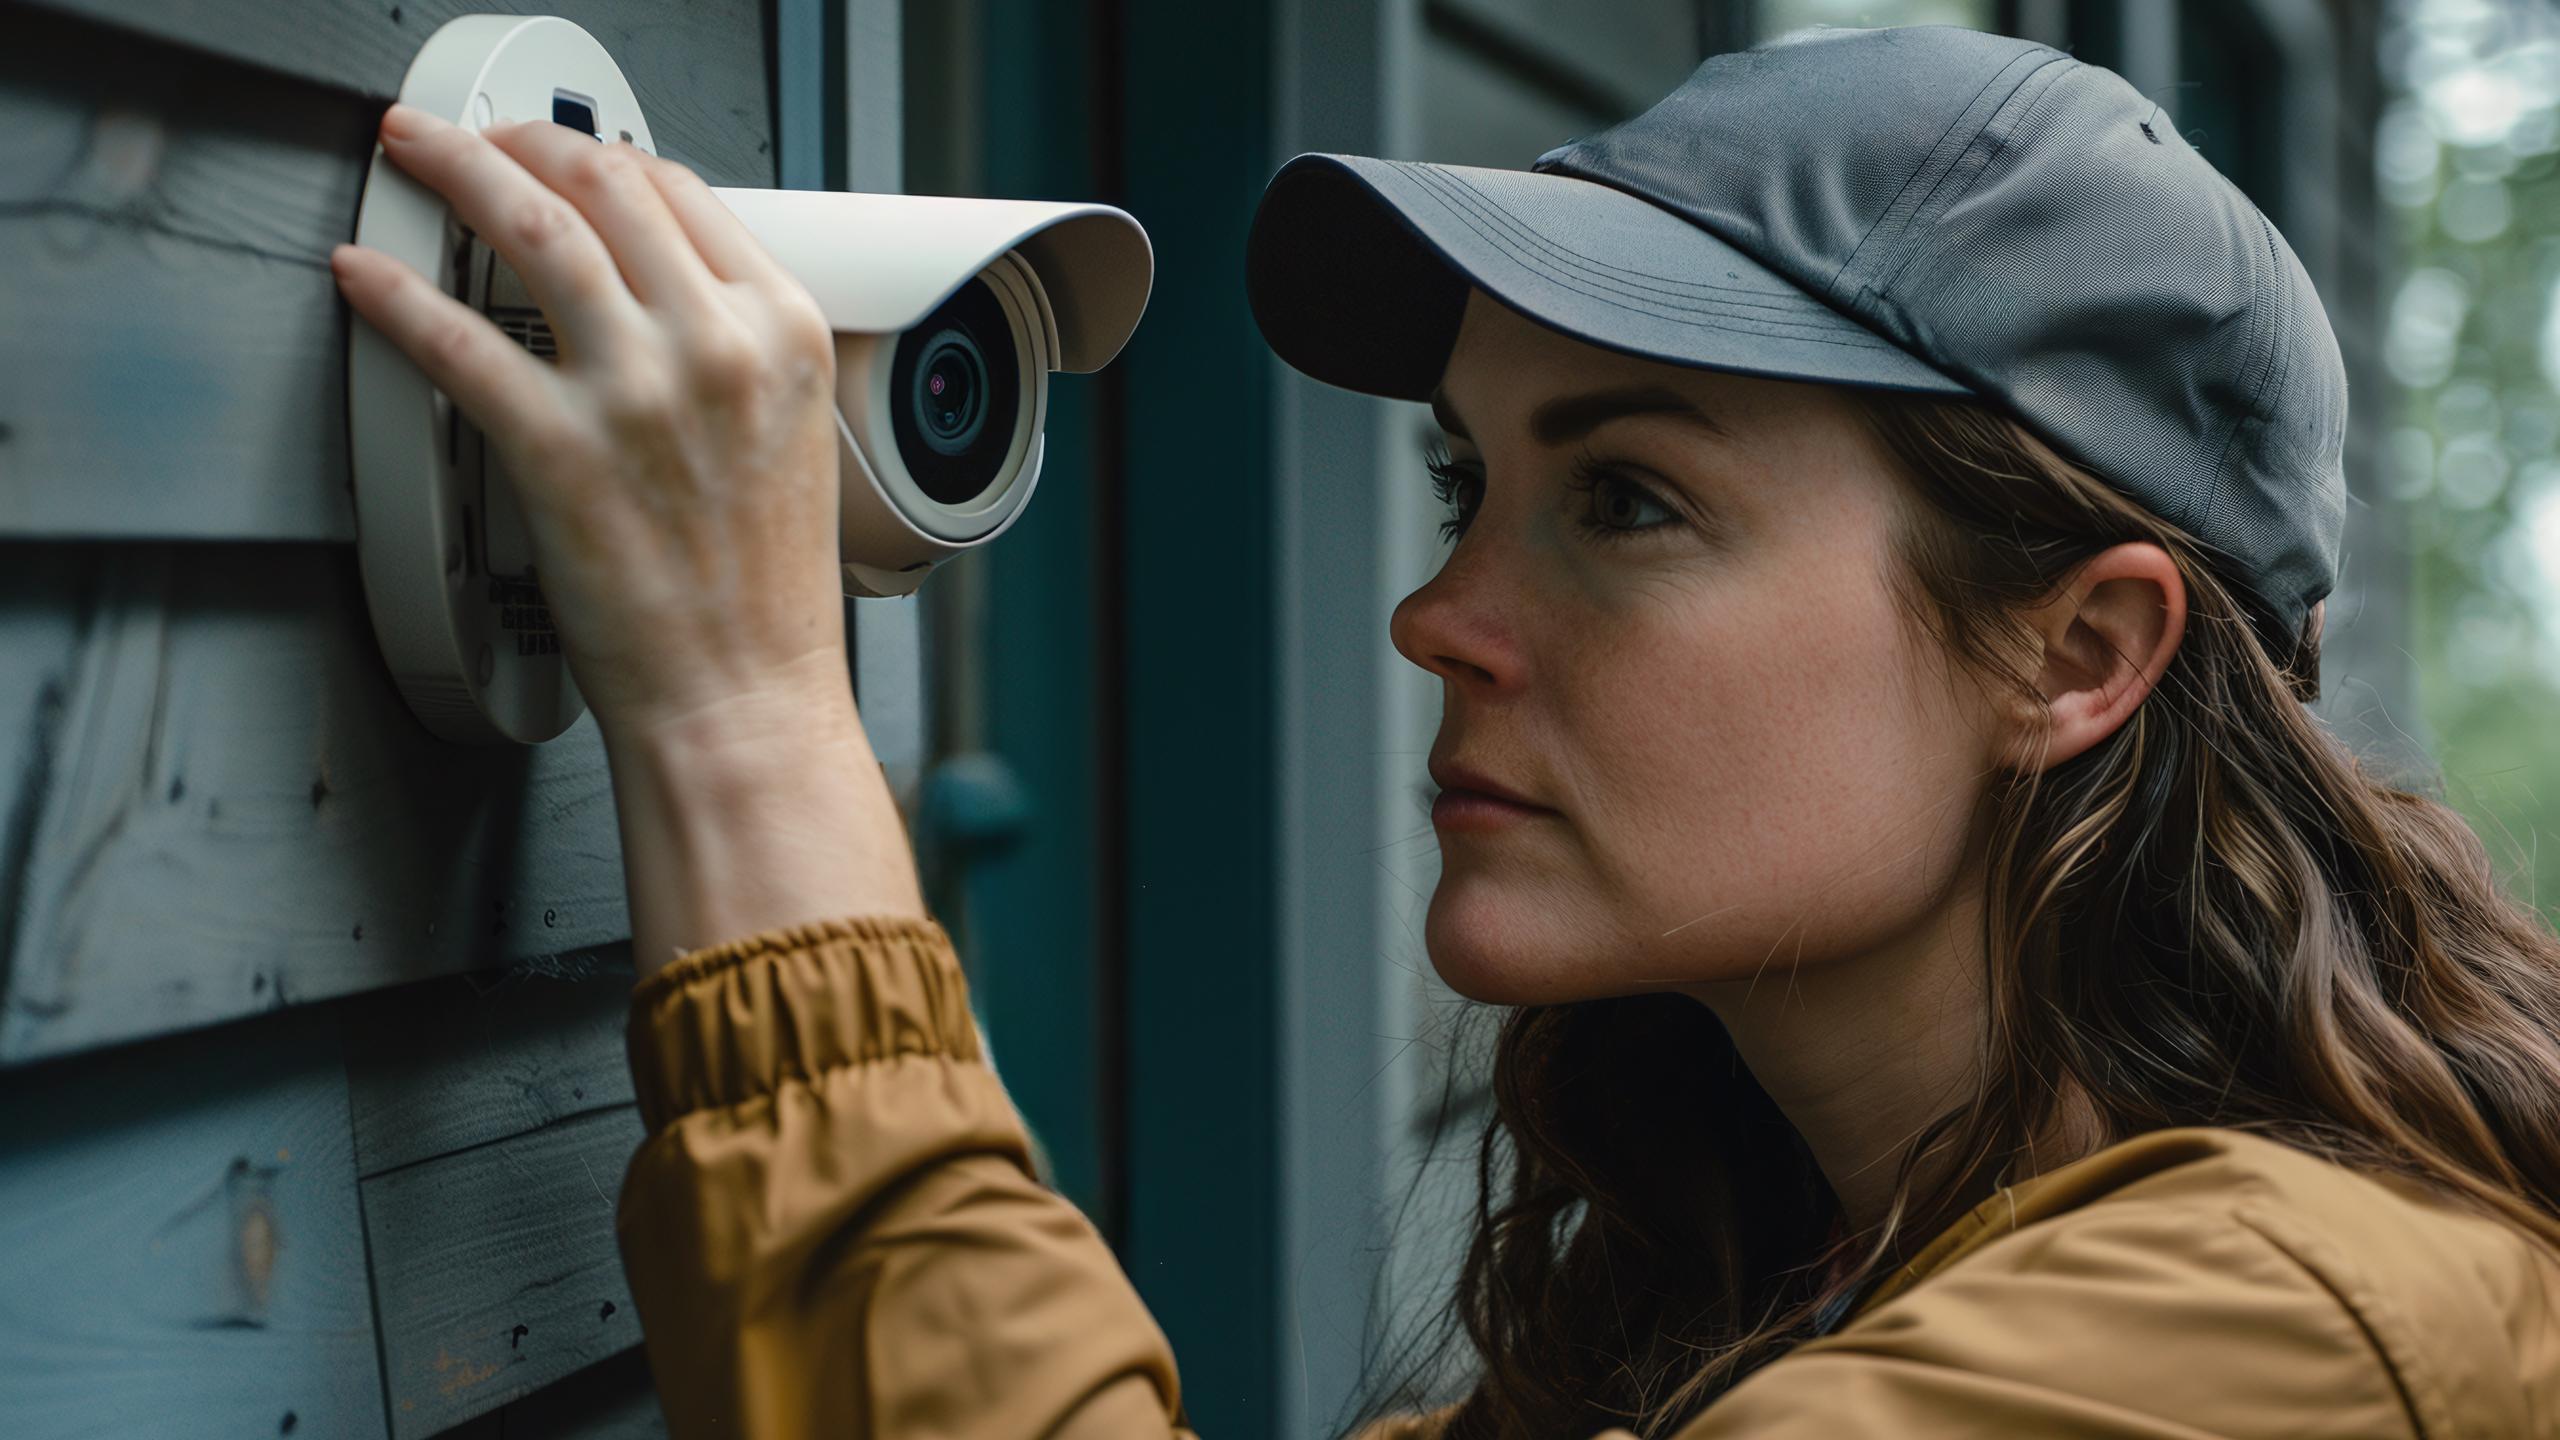
Installing a smart garden camera can bring nature to your screen — birds, bees, butterflies, and maybe even the neighbor’s cat. Whether you’re using Bird Buddy Petal or a similar device, the setup process is surprisingly simple if you follow a few core steps. Here’s how to get started.
1. Unboxing and Preparing the Device
Before diving into the installation, give the box a proper inspection. Most smart garden cameras, including Petal, come with:
- The camera unit
- A mounting bracket or stand
- Charging cable or solar accessory
- Quick start guide (keep it nearby)
Plug in the device for a full charge before installation. Most models will require at least 2–3 hours.
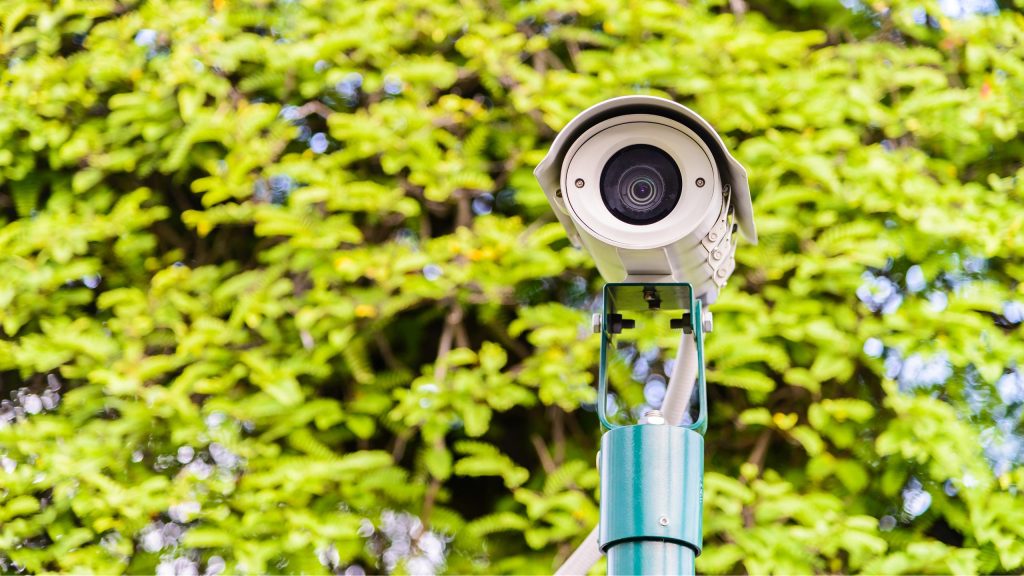
2. Choosing the Right Location
Placement is everything. Here are a few tips:
- Natural visibility: Near feeders, flowers, or shrubs where birds or insects naturally gather.
- Stable surface: Use a fence, pole, or tree for minimal vibration.
- Avoid direct sunlight: Prevent glare or overheating by facing the camera slightly away from the midday sun.
- Wi-Fi range: Ensure your chosen spot is within range of your router.
Petal, for example, is designed with flower-like camouflage — ideal for blending in without disturbing wildlife.
3. Connecting to the App
Once charged and positioned, it’s time to sync the device:
- Download the companion app (e.g., Bird Buddy App).
- Create an account.
- Enable Bluetooth and Wi-Fi on your phone.
- Power on the camera and follow the pairing instructions.
Most apps offer a step-by-step walkthrough. Be patient — initial sync may take a minute or two.
4. Configuring Settings
Inside the app, you’ll find a range of options:
- Motion detection: Adjust sensitivity to avoid false alerts from wind-blown leaves.
- Notifications: Get real-time alerts when activity is detected.
- AI identification: For supported models, enable automatic species recognition.
- Recording preferences: Choose between continuous video or snapshot modes.
If your camera supports cloud storage or SD card backup, take a moment to select your preferred storage option.
5. Mounting and Final Testing
Now, secure the device:
- Use the included mount, stake, or magnet (depending on model).
- Test stability with a light tap — the camera should stay firmly in place.
- Walk past the camera to ensure it registers motion and sends an alert.
Also, check the video feed in the app. Adjust the angle slightly if needed for a better field of view.
6. Ongoing Maintenance Tips
A smart garden camera isn’t set-it-and-forget-it. To keep things running smoothly:
- Clean the lens weekly to remove dust, water stains, or pollen.
- Check battery levels, especially if solar charging isn’t consistent.
- Review recorded content to delete old footage and free up space.
- Update firmware through the app when available.
Final Thoughts
Installing a smart garden or pet camera like Bird Buddy Petal transforms your outdoor space into a living documentary. Whether you’re tracking local birds, monitoring pollinators, or just enjoying a touch of nature from your screen, a thoughtful setup makes all the difference.
Don’t overthink it — pick a spot, plug it in, and let your backyard tell the story.